Last Updated: 5th March 2021
NESRGB
De-Jitter
The timing NES video signal is slightly non-standard. This was a novel way to reduce composite video artefacts but caused trouble with modern digital video scalers in TV sets and monitors. In affected scalers, the symptom usually looks like flickering at the top of the screen. Here’s a video of the symptom on an LG television set.
Marqs on the Shmups forum, creator of the OSSC video scaler, came up with a good solution. This involved precisely controlling the clock to the PPU to make the video timing standard compliant. I have implemented this feature into the NESRGB version 2.0 hardware and firmware, released 10/2/2019.
If you have a previous version of the NESRGB hardware and would like this de-jitter feature, I have created a firmware update which adds this feature to the older boards (1.0, 1.2, 1.3, 1.4). Some modification to the NESRGB board itself is required, and the palette select feature was removed to make it fit. I will not provide any support for this procedure. If you don’t understand this guide, please do not attempt this mod (buy the new hardware instead).
De-jitter for NESRGB 1.X hardware installation guide
- Identify the hardware version. Find the text NESRGBXX printed on the board, where XX is the hardware version. For example, the text NESRGB14 means hardware version 1.4.
- Update the firmware with an Altera USB Blaster clone programmer (details here).
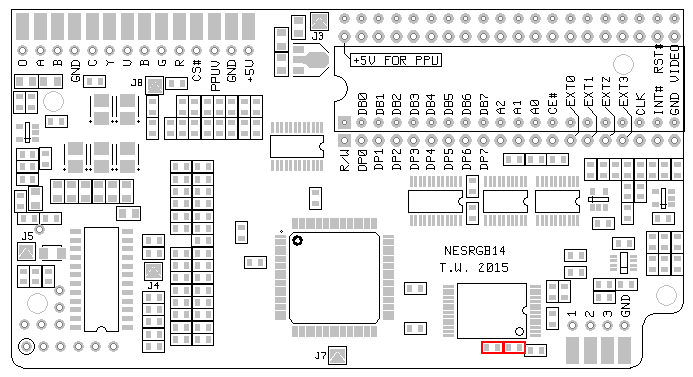
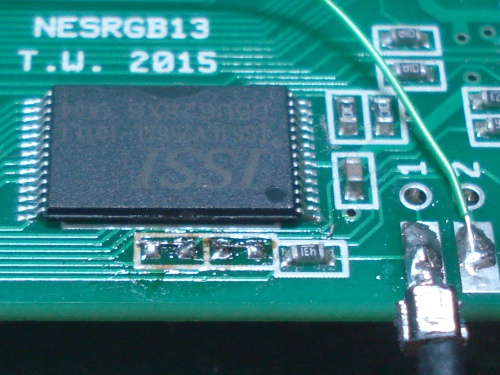
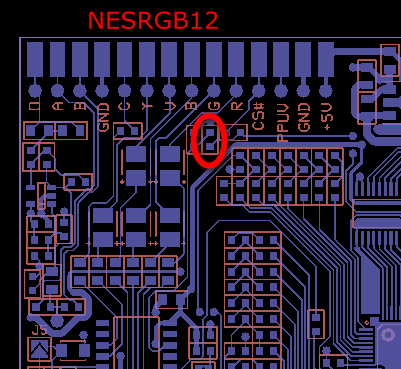
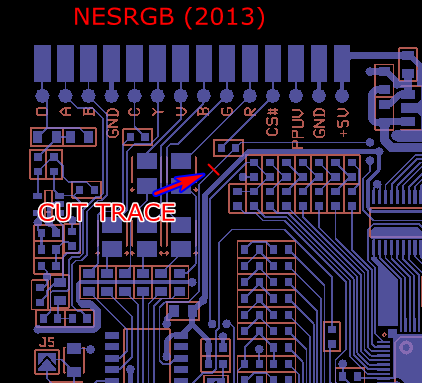
- The palette selection pads 1, 2, 3, now have different uses. They are 1. Sync output, 2. Sync input, 3. PPU clock output. On hardware version 1.2, 1.3, 1.4 the palette pins each have 430-ohm resistors in series. These are there to protect the FPGA in case the palette pins are connected incorrectly during installation. Identify the resistors in series with pads 2 and 3 (marked red in the diagram below).
- Replace each resistor with a jumper wire. You can remove the surface mount resistors easily by adding extra solder to each pad and holding the soldering iron tip in such a way as to heat up both pads at once. Then slide it off the pads.
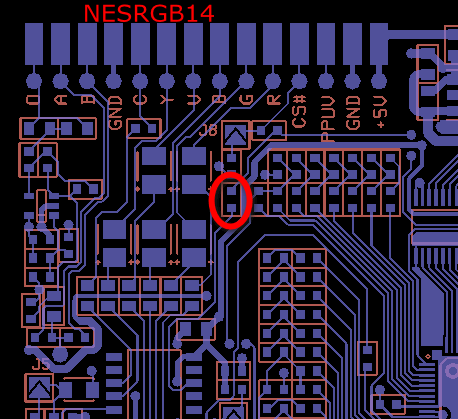
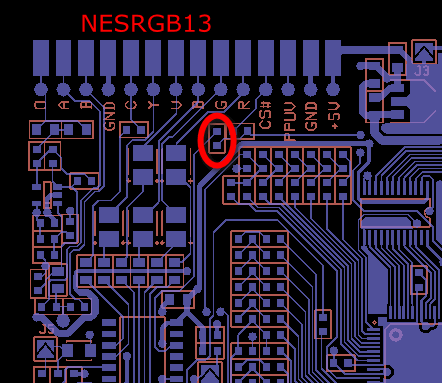
- Solder a wire between the palette pad 2 and the CS# pad.
Isolate the PPU pin 18 (clock) from the NESRGB board. I recommend cutting the small part of the pin off, so it no longer makes contact with the socket. I DO NOT recommend bending the pin away from the socket that causes the pin to fatigue and possibly break off. Solder a wire between the isolated PPU pin 18 and palette pad 3. - Palette pad 1 is the new, corrected sync output. You must use this signal instead of V, Y, CS#, and PPUV to benefit from the de-jitter feature. The 430-ohm series resistor already on the board makes it suitable to connect directly to a 75-ohm sync input.
- If you only use RGB output, you can finish here. If you also need to use the video encoder’s sync outputs (composite video, s-video, component video), you also need to connect the new sync signal to the video encoder. The video encoder is BH7236AF, and the sync input is pin 10. Most versions of the NESRGB hardware have a series resistor between CS# and the encoder sync input. Remove this resistor and connect the new sync signal by soldering a wire between palette pin 1 and video encoder BH7236AF pin 10. Note that if you leave the 430-ohm resistor in place, you should not use this signal to drive the video encoder and an external monitor at the same time.

